
Back when I was in school I studied Electronics to A-Level and really enjoyed it. I even built a set of wireless speakers as a final year project, but since then almost all of my development has been in the virtual world, working on game engine technology and shipping games.
I’ve wanted to try bringing my code more into the physical world for a long time, hence learning about autonomous-drone-flight a while back; that was supposed to be the start of it… but things got busy and I never really found time to continue down that path.
I joke that my plan for retirement is to be “that crazy old man with all the robots”, it’s a nice overlap of my love of coding, my previous (and desperately in need of a refresher) enjoyment of Electronics, and the general coolness of robots. I think what really appeals is that much like with programming, robotics is cumulative, where each thing you make can be brought forward into a future project, either literally or just the knowledge gained.
My girlfriend, being the observant type, noticed this and got me this robot-“dog” kit as a present (we both think it really looks more like a robot cat, right?)

It sat on my TODO list for a little while, but when I took my work Sabbatical (June->Sept 2022) I found myself with enough time to get stuck in!
I have to say, there was definitely an uncomfortableness that came from “if I break this it’s really broken”. One of the often underappreciated things about working as a programmer is that anything that breaks can be fixed, but when you’re working on a robot you worry about accidentally frying some of the electronics or damaging a servo and there’s no way to just roll that back!
The first step was generically useful for all Raspberry Pi projects, specifically getting the software setup, and even more specifically making sure you’ve got a remote-desktop setup going!
I had done Pi projects before where I just plugged them into my monitor every time, so this is a real lifesaver for future projects; I’d used VNC before on PC, but I had no idea it was a built-in first-class-citizen for the Pi!
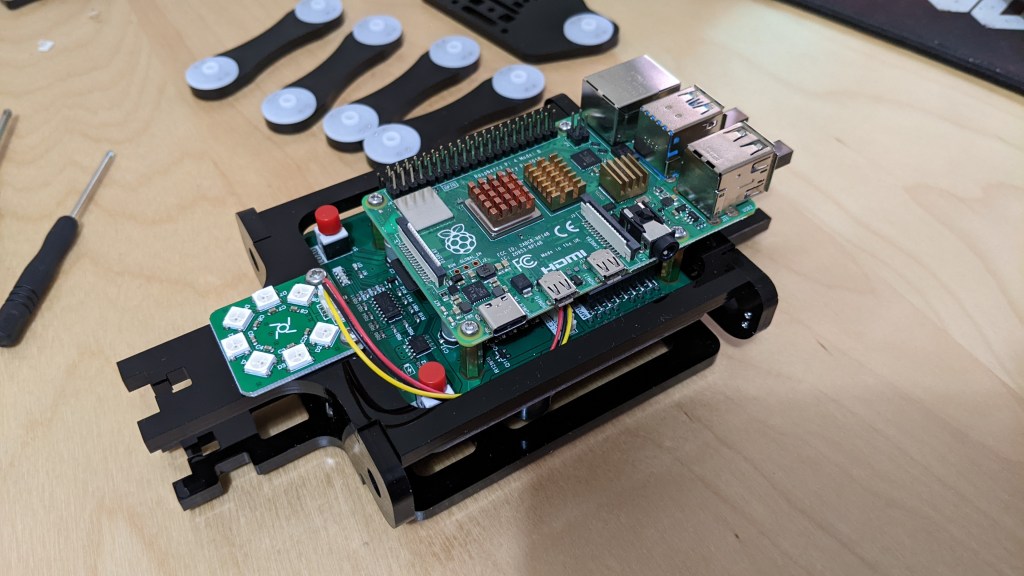
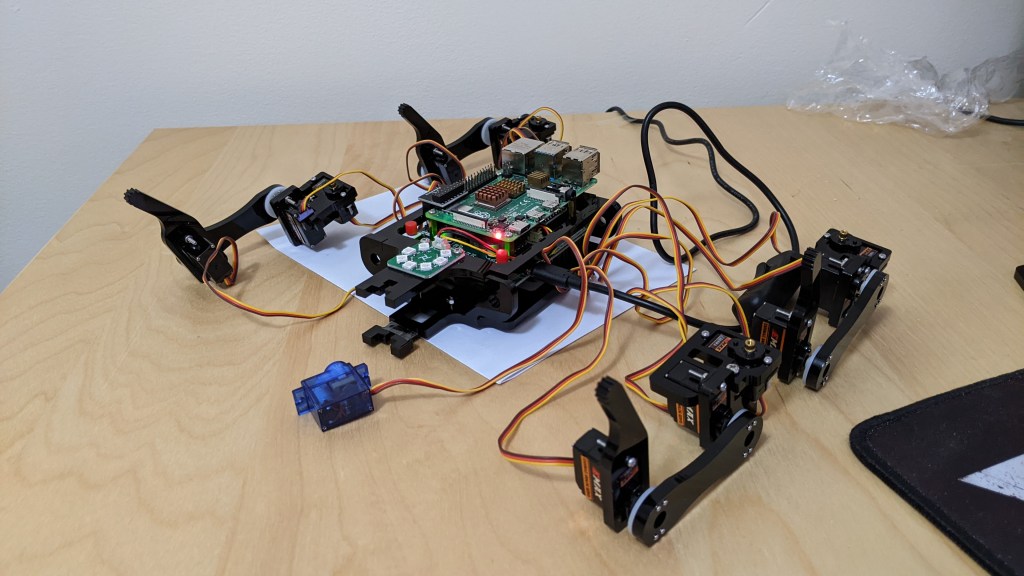
As you can see, especially for a robot dog, having to have everything plugged in would be problematic!

I mean… this Robot wouldn’t be going anywhere fast with this many wires tethering it to the power, network, keyboard, mouse and monitor!

But once you’ve got VNC enabled on the Pi you can just remote-desktop in from your PC.
(Left-monitor = Raspberry Pi plugged into Monitor)
(Right-monitor = Remote-Desktop to Raspberry Pi)
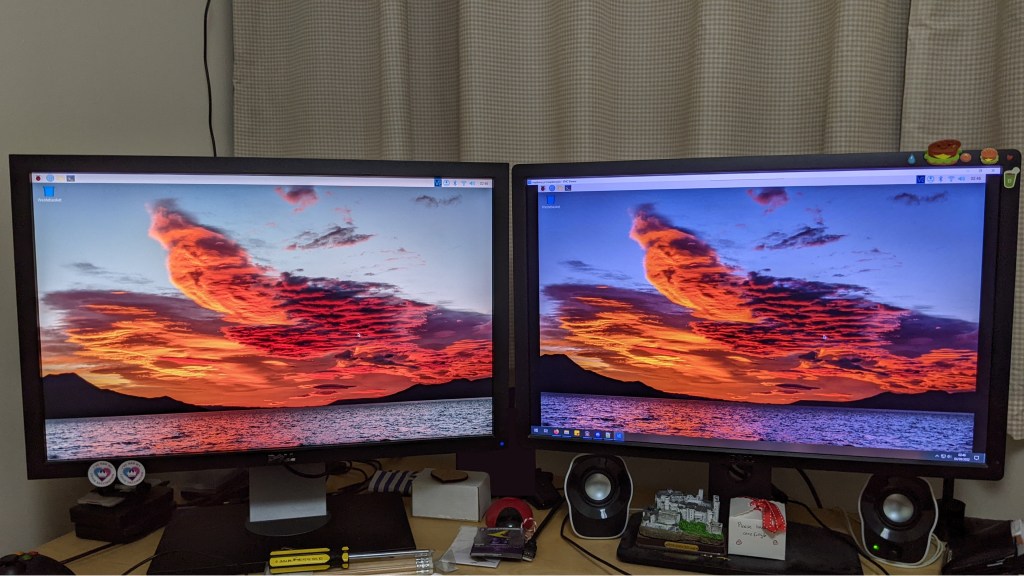
As this version of the Pi (4B) comes with WiFi built in, at that point you can detach 100% of things except for the power cable, and all coding on the machine can be done remotely too 🙂
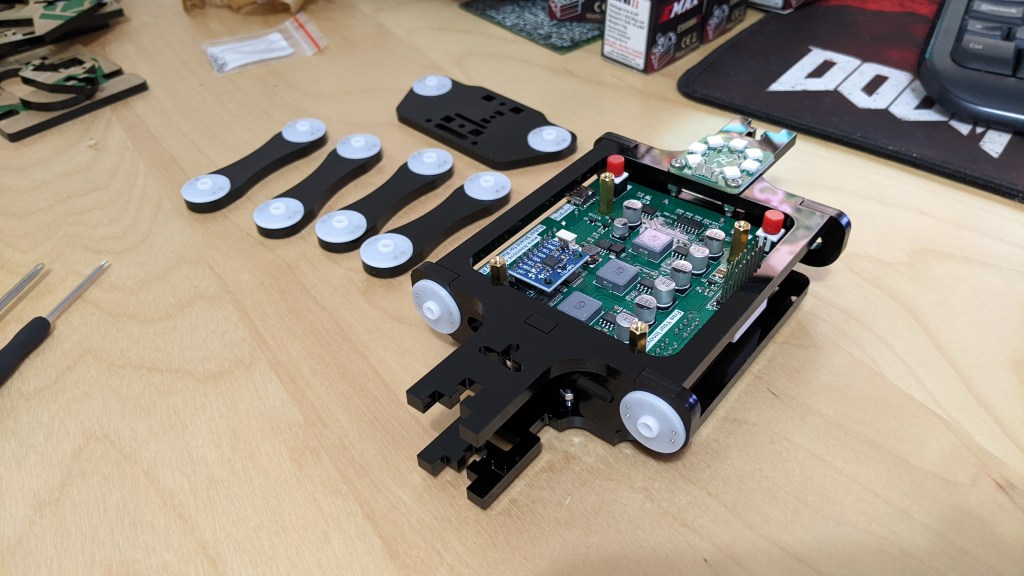
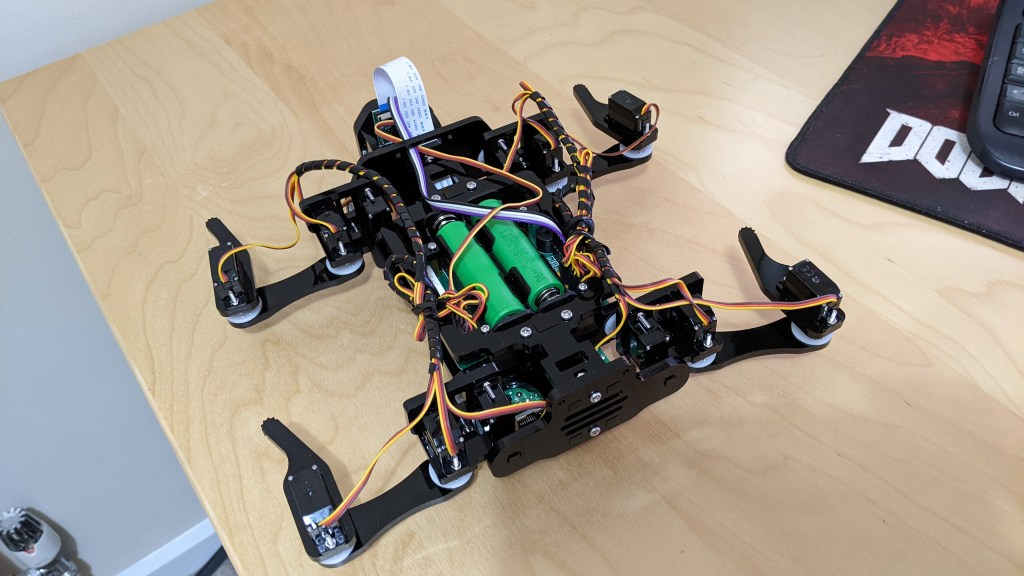
After that it’s time to build the robot, which was fairly involved!
Particularly fun is that after assembling the main leg joints, you have to actually power it up and leave it powered while you build the rest of it.
This caused no end of nerves in-case I accidentally shorted something when moving it around (which you have to do quite a bit to reach everywhere)… note the power cable + light from picture 4 onwards!
The power was required to allow the servos to lock in place during assembly.
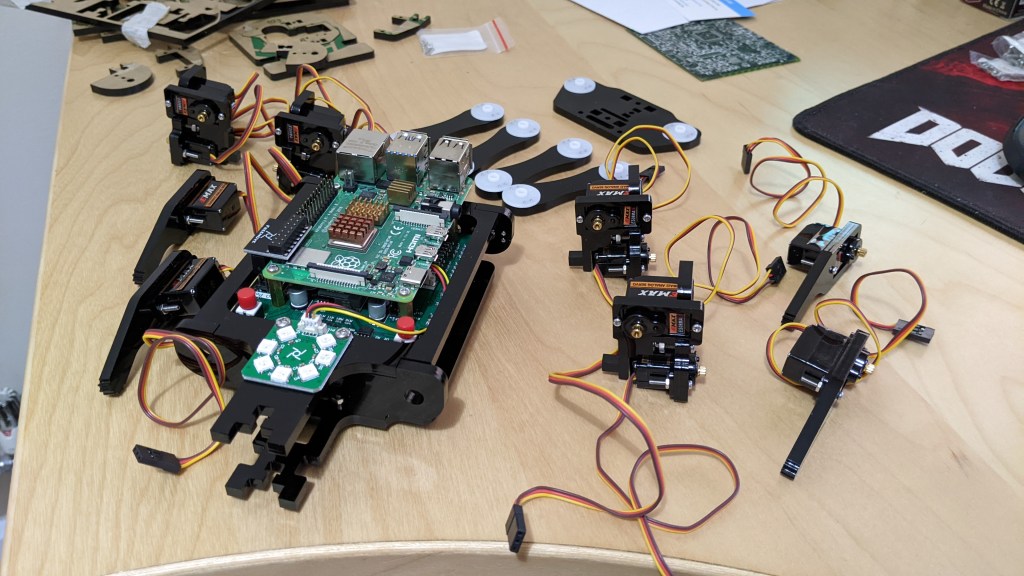


At around about this point, you start to feel like a veterinarian!

Once all of the components are assembled it’s time to calibrate the legs, so you attach the calibration stands to support its weight, power on the servos into their ‘neutral’ position, and then tweak the orientation of the joints until all four legs are standing on their markers. At this point, those joint orientations are the calibrated standing pose.

Finally, with everything calibrated, it’s time to run a provided test-servo program… this is the moment of truth! It looks a little goofy, but everything worked as-intended which was a huge relief!
There were also some other test programs provided, such as one that cycles the LED ring through a range of colours.
This could be used for debug/status output… or perhaps to make it a disco dog? 😛
(Bright Light Warning!)
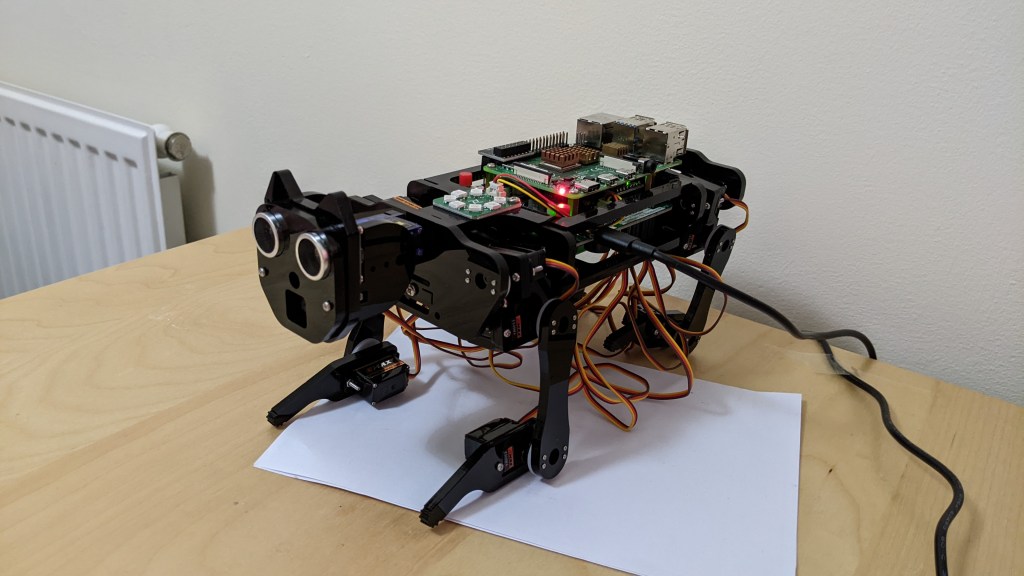
After all of that, it was time to take the little robot dog for its first walk!
In this clip I’m controlling it from a program running on the PC, which is communicating with a program running on the Pi (over the WiFi).
Note that as his legs weren’t quiiiite calibrated right, the clearance on the carpet meant that he could only really seem to walk backwards! (But it was cute all the same, until the batteries ran out!).
At this point, it was safe to say that aside from a bit more calibration, everything was working, so “an attempt was made” to tidy the cables, as they were frequently getting caught on the legs, which probably wasn’t helping things! (Note: The box at the beginning has a “Wires are not shown in the picture” disclaimer, no wonder it looked so tidy!)

Not great, but by no means awful, and now the robot is free to move about without getting tangled up or risking damaging any cables, so I was happy enough with that 🙂
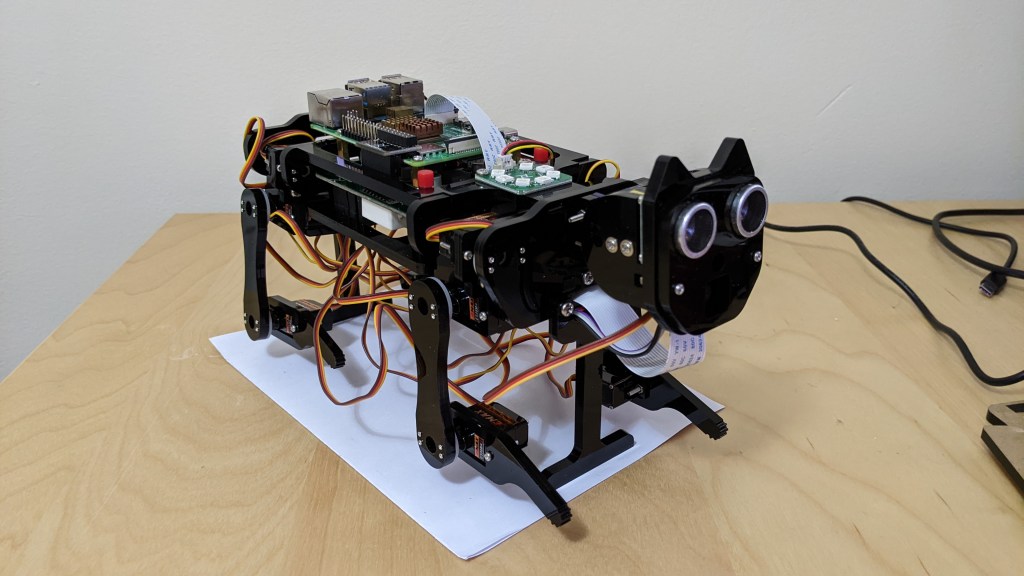
To test its mobility a bit more I added a quick program to do some pressups and wave 🙂
It’s working! So then what?!
Well it’s time to connect it to the internet of course, so you (or a rogue AI) can instruct it from anywhere in the world!
Okay it’s not quite that exciting, but as per my previous post, I had recently been working on hosting a REST API on an AzureVM. So I figured the next logical thing to do would be to hook up the Robot Dog to the REST API so it could be controlled via the internet!
Below is a little video demonstrating this (intended for my post-sabbatical presentation); it was recorded on my phone so audio quality isn’t great but hopefully it’s servicable. I recommend going full-screen so you can read the text where necessary (ignoring the mountain of test API bits at the top).
(In this video the program only polls every 5 seconds so it seems a little unresponsive as I got unlucky on where in that 5-second window I was issuing commands, but there’s no need for this delay to be this high, I just put it in to preserve battery life).
Cool stuff! So what’s planned next?!
This was a really good introduction to robotics for me, and I got to make some use of other things I’d been learning during my Sabbatical (specifically Python and the hosted REST-API), so overall I was really happy with it!
That said, there are some other cool things I would like to do with this in the future (although I can’t put a tight timeframe on those):
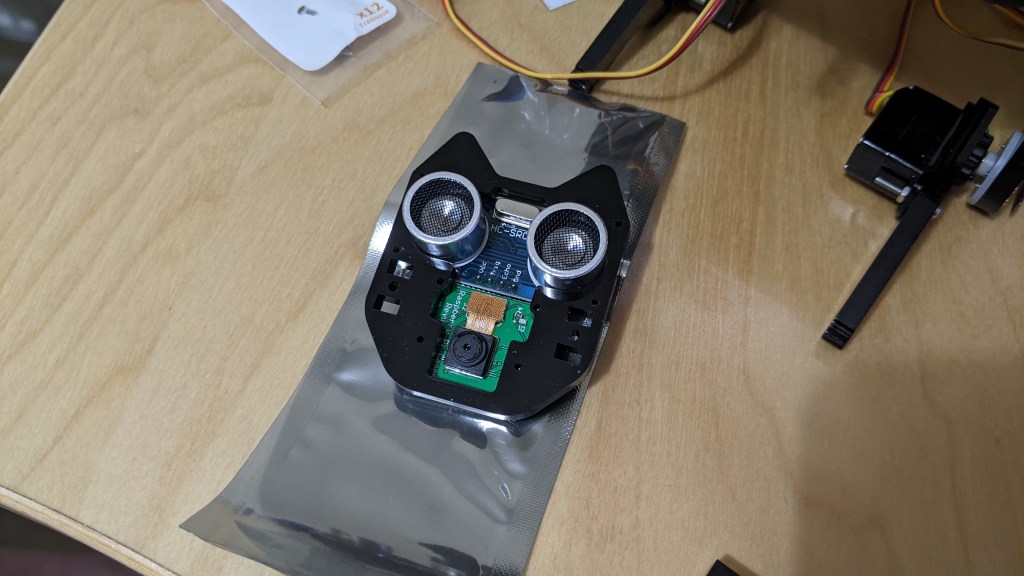
- I’d like to make use of the camera & ultrasound sensors to do some object following or distance-maintaining
- I’d like to try to get some image-recognition running on it, the Pi should be powerful enough to run some classification networks, or even just something with OpenCV.
- I’d like to revisit the Simultaneous Location And Mapping (SLAM) approach that I learned in my autonomous-drone course waaaay back, and see if I can get this little robot dog to accurately position itself within the environment so I can ‘send’ it places via the REST API.
- I’d then like to hook up the camera functionality to the REST API so that I can request a photo from the robot dog remotely.
(In theory at this point I can remotely tell it to go somewhere, or to someone/something it recognises, and snap a shot, while being remote)
I have some shorter term projects to work on, but I’ll revisit this robot dog to do some of those eventually no doubt, and then maybe I’ll consider looking into some other kits 🙂
All in all it was great fun, and I learned a lot, so my plans to one-day be “that crazy old man with all the robots” remains unchanged ^_^
I’ve mainly put this up for my own record-keeping, but I hope you found this interesting too 🙂
Byeee!

Leave a comment