
Like a lot of programmers, I have always wanted to write an emulator for a classic games console! I’ve done ’emulation-adjacent’ work before, such as writing a VM or bytecode interpreter for a scripting language, which is very similar to writing an emulator for a CPU, but I’d never jumped whole-hog into emulating a console.
As I had 14 weeks off from the start of June until mid-September 2022 for a work sabbatical (you get it at 10-years, I took mine at 16 years!), I thought it would be a great opportunity to try writing a NES emulator.
Why NES? Well, for two reasons primarily.
- 1. It has some of the most widely known, immediately recognisable, and loved games of that era.
- 2. The community around NES emulation is just phenomenal, so all of the information I needed around the hardware could be found online… as I’m not going to try to reverse engineer the hardware myself!
In particular, https://www.nesdev.org/ was my number one source of information; it doesn’t provide any code*, but it goes deep on the hardware specifications, even going so far as to map the behaviour of all of the unofficial opcodes through trial and error on real hardware! And there are test programs you can run to verify whether your emulator is behaving as expected, or to help targeted troubleshooting, which was a lifesaver when I had a stack bug in my RTS() and RTI() opcode functions, causing some interesting breakages!
(* there are programming tutorials, but they’re on making games for the NES)
So anyway, I took about 8 weeks during my sabbatical, then about 4 more pretty crunchy weeks immediately afterwards, working on a NES emulator. Why crunchy weeks? Because I had to present what I did on my sabbatical and I really wanted the emulator looking good! It was by no means the only thing I did on sabbatical, but it was something I was particularly pleased with finally tackling! 🙂
The emulator runs on Windows and Linux. The image below shows it running on my native Windows desktop (right monitor), Ubuntu Linux desktop running in a VM (left monitor) and on my SteamDeck running the default SteamOS (based on Arch Linux).

I named the emulator MIME, standing for “My Individual Machine Emulator”; a play on the popular emulator MAME (Multiple Arcade Machine Emulator). It’s funny, I actually architected the emulator to be able to support more consoles later, but I think in my heart I knew it’ll probably just be the NES emulator… maybe I’ll add something else in another 10 years and have to rename it 😛
At the time, the name was still a little up in the air, and then my lovely partner found this gem of an image, and the deal was sealed! This became the official splash screen for the emulator and made it’s way into the steam library images too, more on that in a later post!. (I mean, it’s just a pet project with no monetary value, so hopefully the artist wouldn’t mind me using it).

(MrMime dancing gif found on Tenor here by user “DâN”.)
I have a whole bunch of posts planned, and if I’m honest I’ve had a bit of paralysis on exactly how to start the series. I’m not intending for them to be a “how to make an emulator” series or anything (no-one even reads this blog at this point so that’d be a lot of potentially wasted effort), but I did want to cover a variety of topics including:
- A super-highlevel view of making of the initial emulator (including going multi-platform with windows and linux support), and the pains of getting visual studio to let you remotely debug graphical applications!
- Adding a UI and games-catalogue selection
- Adding online-backend support for accessing a games library from the internet (a nice proof of concept I thought!)
- Adding save-game support and thumbnails
- Adding FMOD support to the emulator for playing UI audio, and using it to create a procedural audio buffer so we could add audio emulation support.
- Adding audio emulation to the NES… and some of the timing-synchronisation problems caused here by using FMOD, and how I worked around them.
- Setting up your steam-deck for development; installing necessary components and handling all the usual ssh bits
- Just for fun, setting up a local game in Steam and providing it with artwork, so your emulator can show up as a first class citizen in your game library 🙂 My lovely multi-talented partner made me some great artwork for this too so I’ve got to show that off!
- And functionality I haven’t added yet, which can get a future post… adding record/playback replay support! (I know exactly how I’d add that).
(Not necessarily in this order, I may break the steam-deck and visual studio remote development ones out and perhaps do them first… we’ll see)
One of the problems that I’ve had getting this series started, which has caused me so much paralysis, is that I made the emulator a year ago now!!!!! (with some extra bits early this year); I still remember basically all of the details, but I couldn’t really put together a kind of “I made it in this order”, and that might be too much information anyway…
So time-distance from the topic, combined with not wanting to try to write a how-to guide, made this a difficult series to start.
The solution? Just put up a little kick-off teaser post like this one, and then I’ve got a launch-pad to continue the series from!
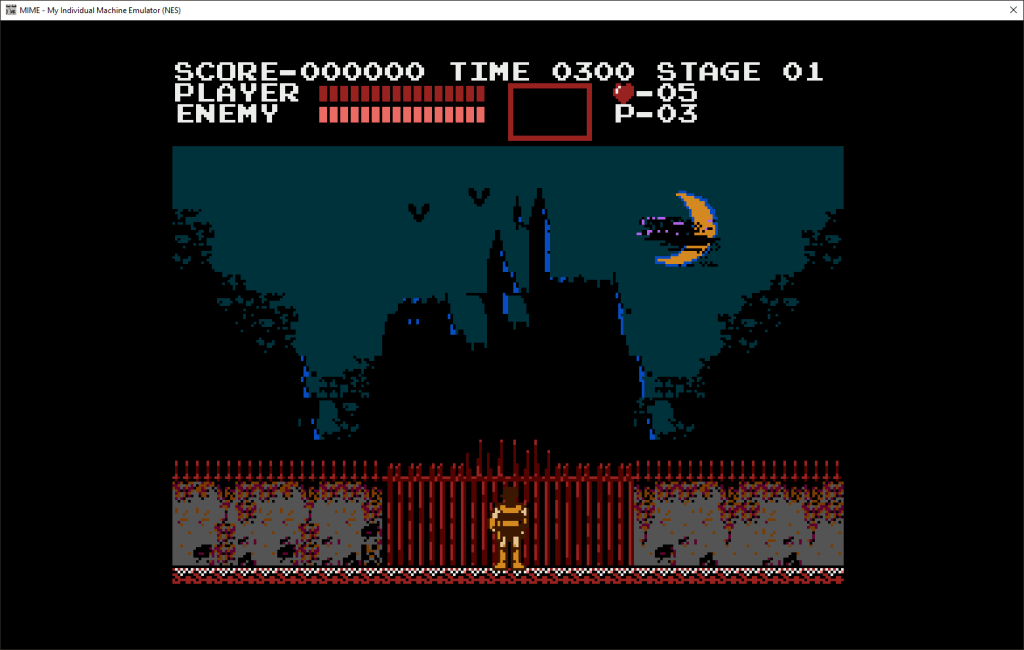
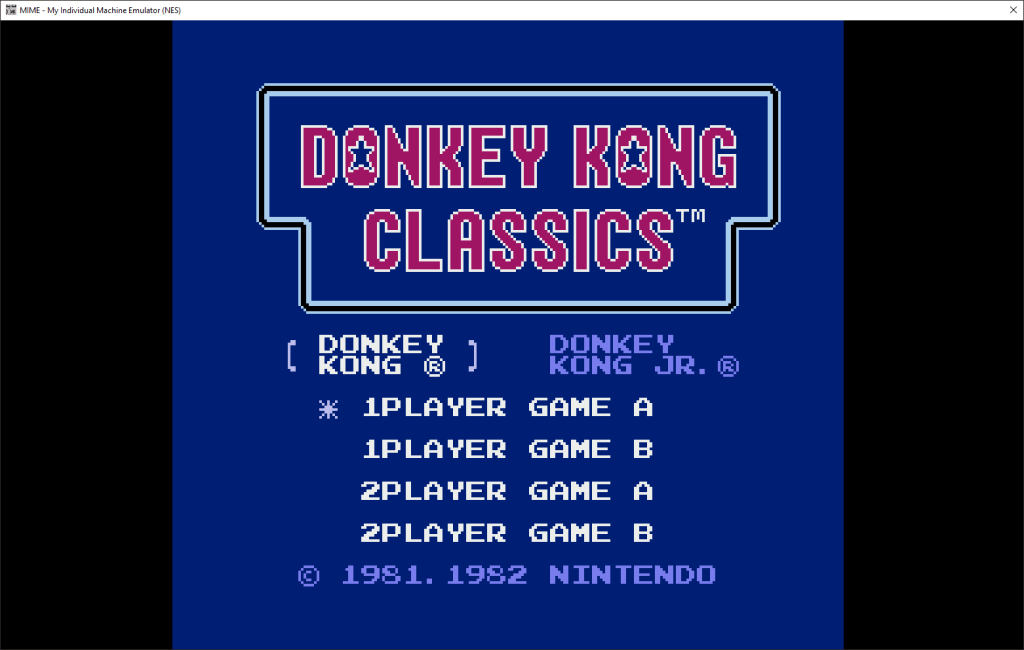
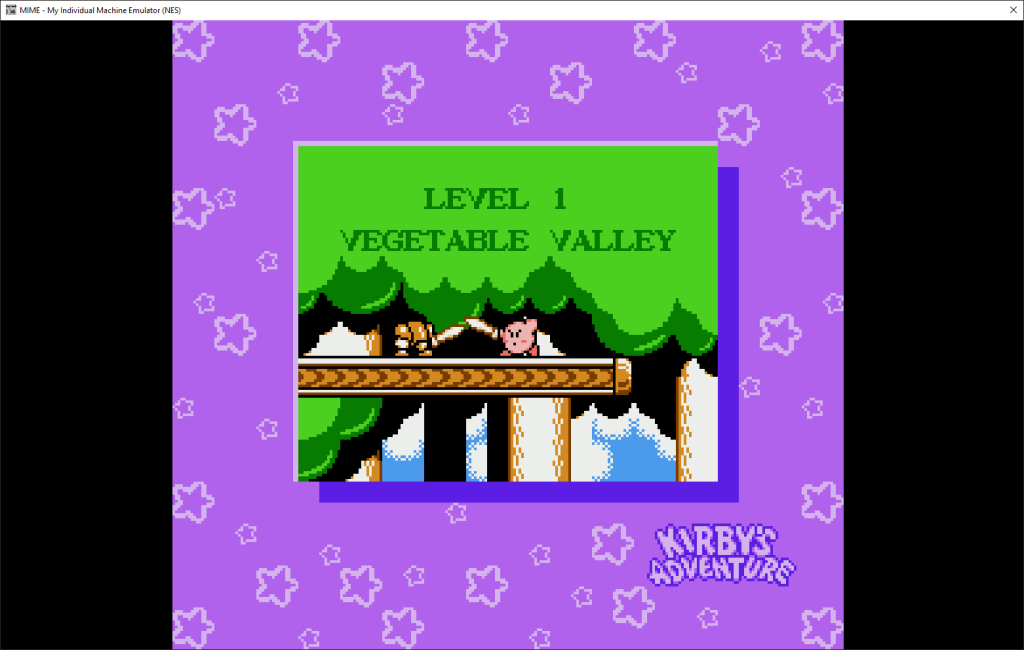
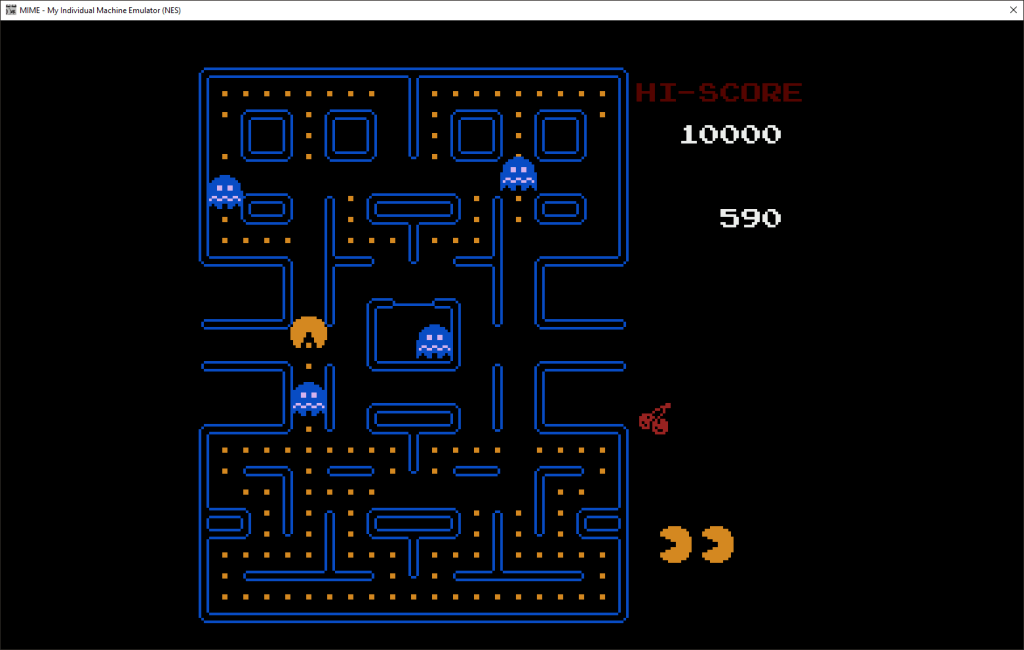
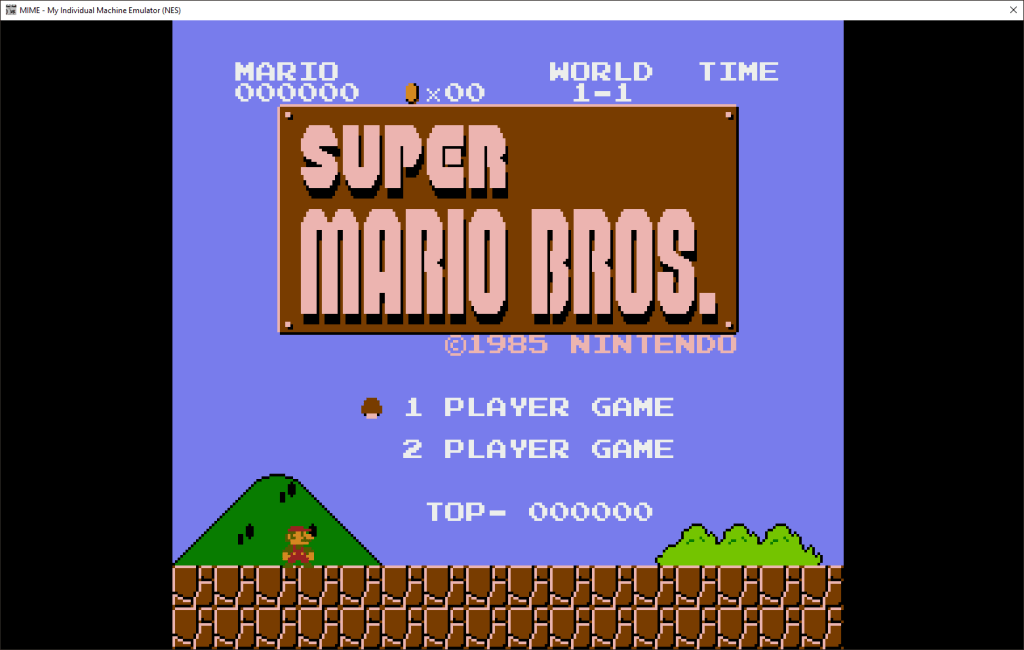
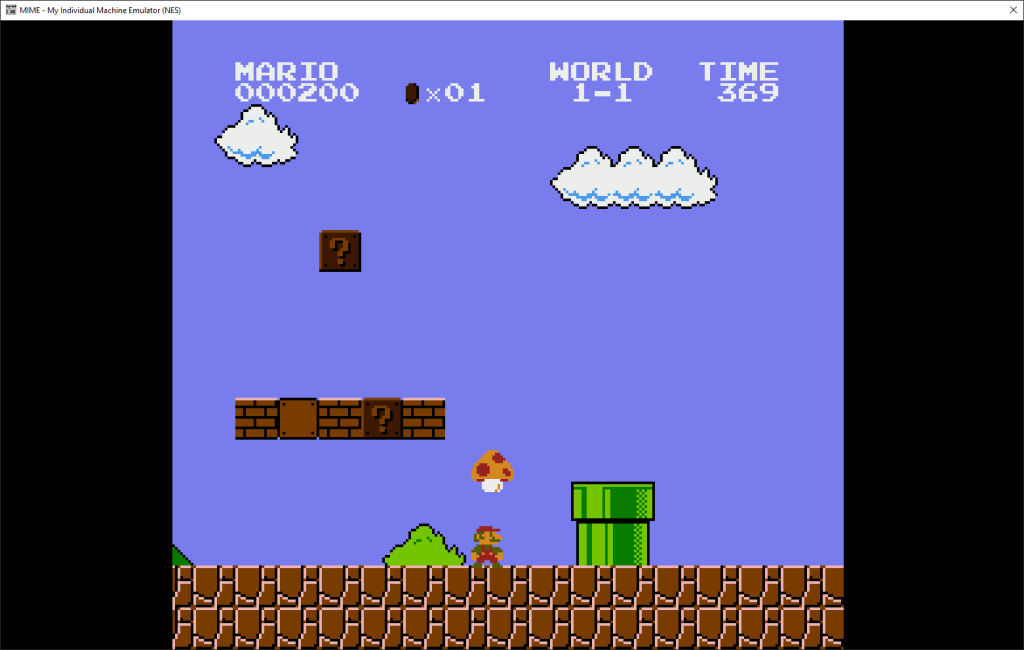
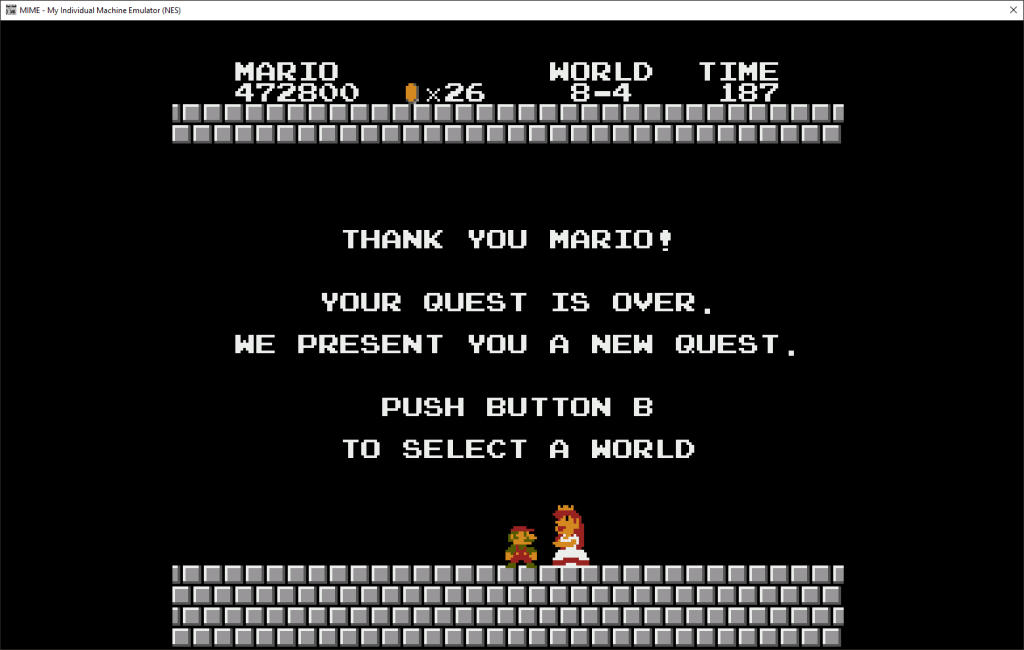
And just for good measure, a few little piccies of the emulator in action:
(I even used the emulator to go back and finish Super Mario Bros… well the first run-through at least!)


Until next time, watch this space 🙂

Leave a comment